- Published on
Converting image formats on macOS using the Finder app
- Authors
- Name
- interglobalmedia
- @letsbsocial1


Previously I wrote a couple of articles about how one can convert images from on type to another either using Command Line commands or specifically using the cwebp package available through Homebrew. But let’s say the macOS user does not have Xcode and/or CLT (Command Line Tools for Xcode) installed or configured?
Not a problem. Those macOS users can achieve the same or at least similar goals by using their Finder app.
The steps are real simple. First click on the Finder app to open it. It looks like the following and it is located within your Dock on macOS:
Mine is located all the way to the left of the Dock, which is located at the bottom of my MacBook Pro screen. My Dock looks like the following:

After you click on the Finder app to open it, something like the following will appear:

When I opened my Finder, “Desktop” was highlighted, because that is the last location I visited when I used the Finder. And conveniently enough, a jpeg image was highlighted. So I will use that image as an example. I will convert it to a png.
Next, I click on the image I want to convert (in this case, the one that is highlighted in the screen capture), and then I select export. When I open the image by clicking on it, it should look something like the following:

Next, I go into the File tab for Finder, which is located at the top of my MacBook Pro screen (same difference across macOS devices), and select “Export”. It should look something like the following:
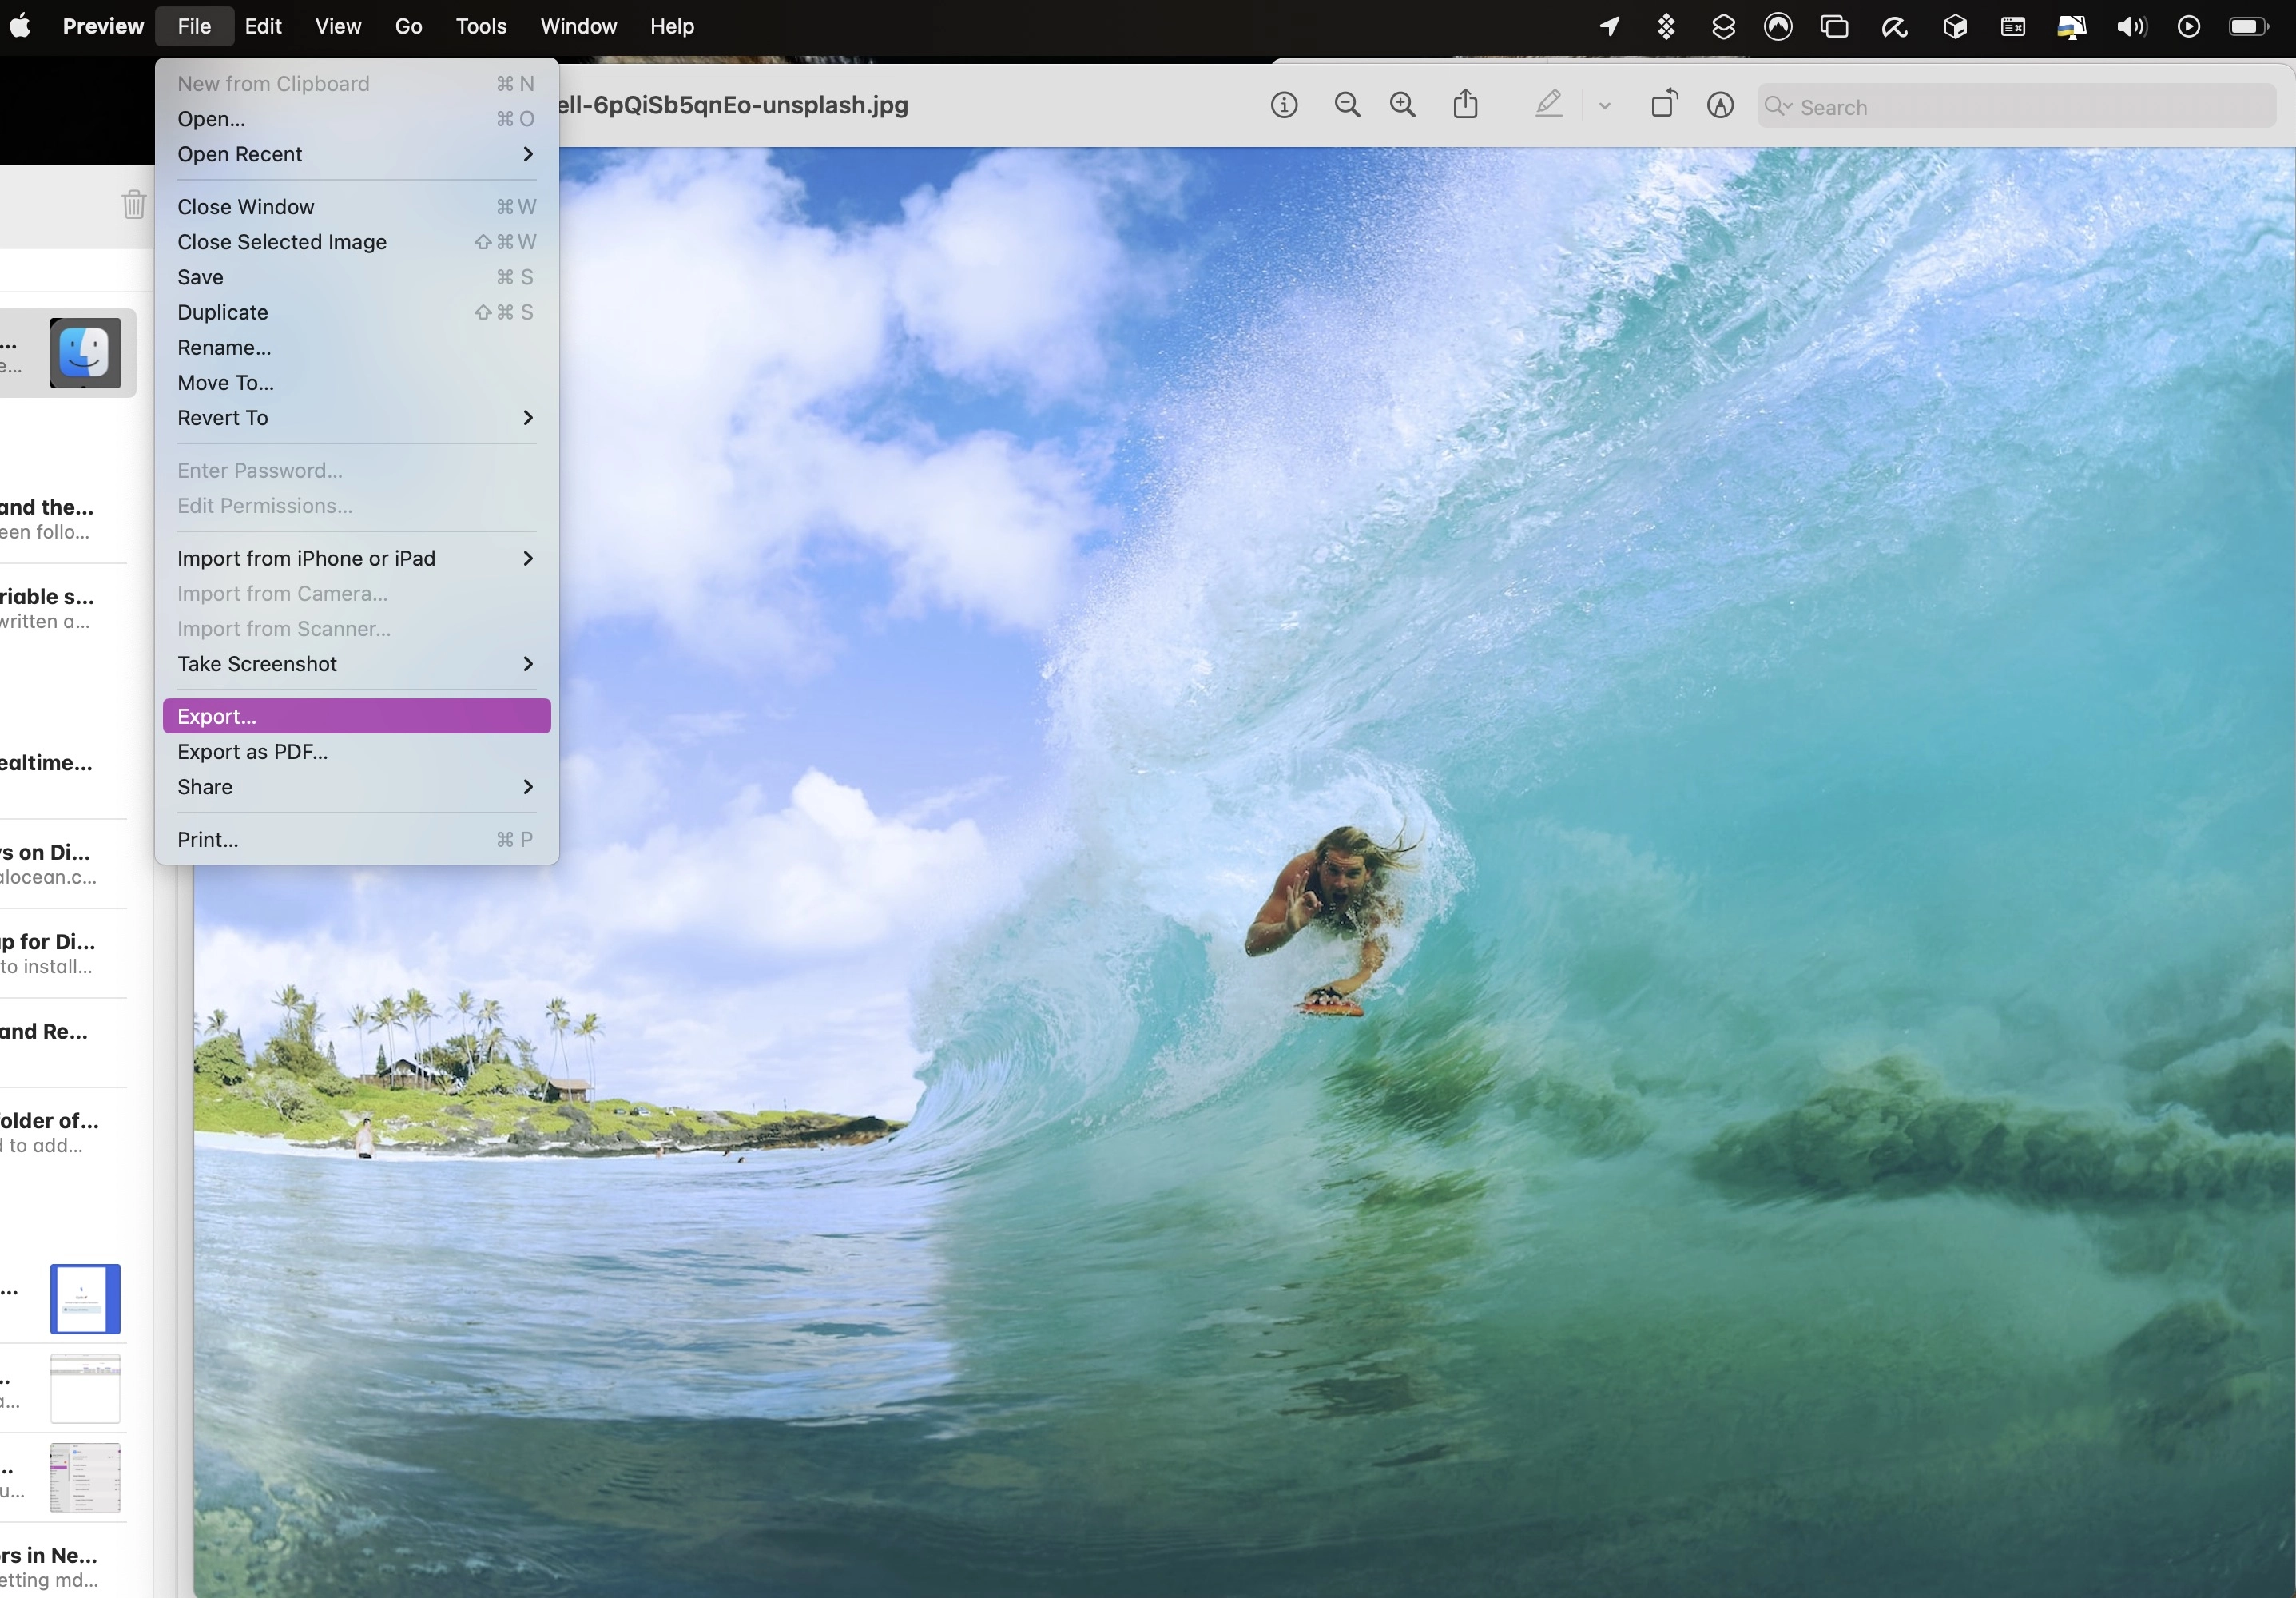
Then I actually click on “Export”, and something like the following appears:
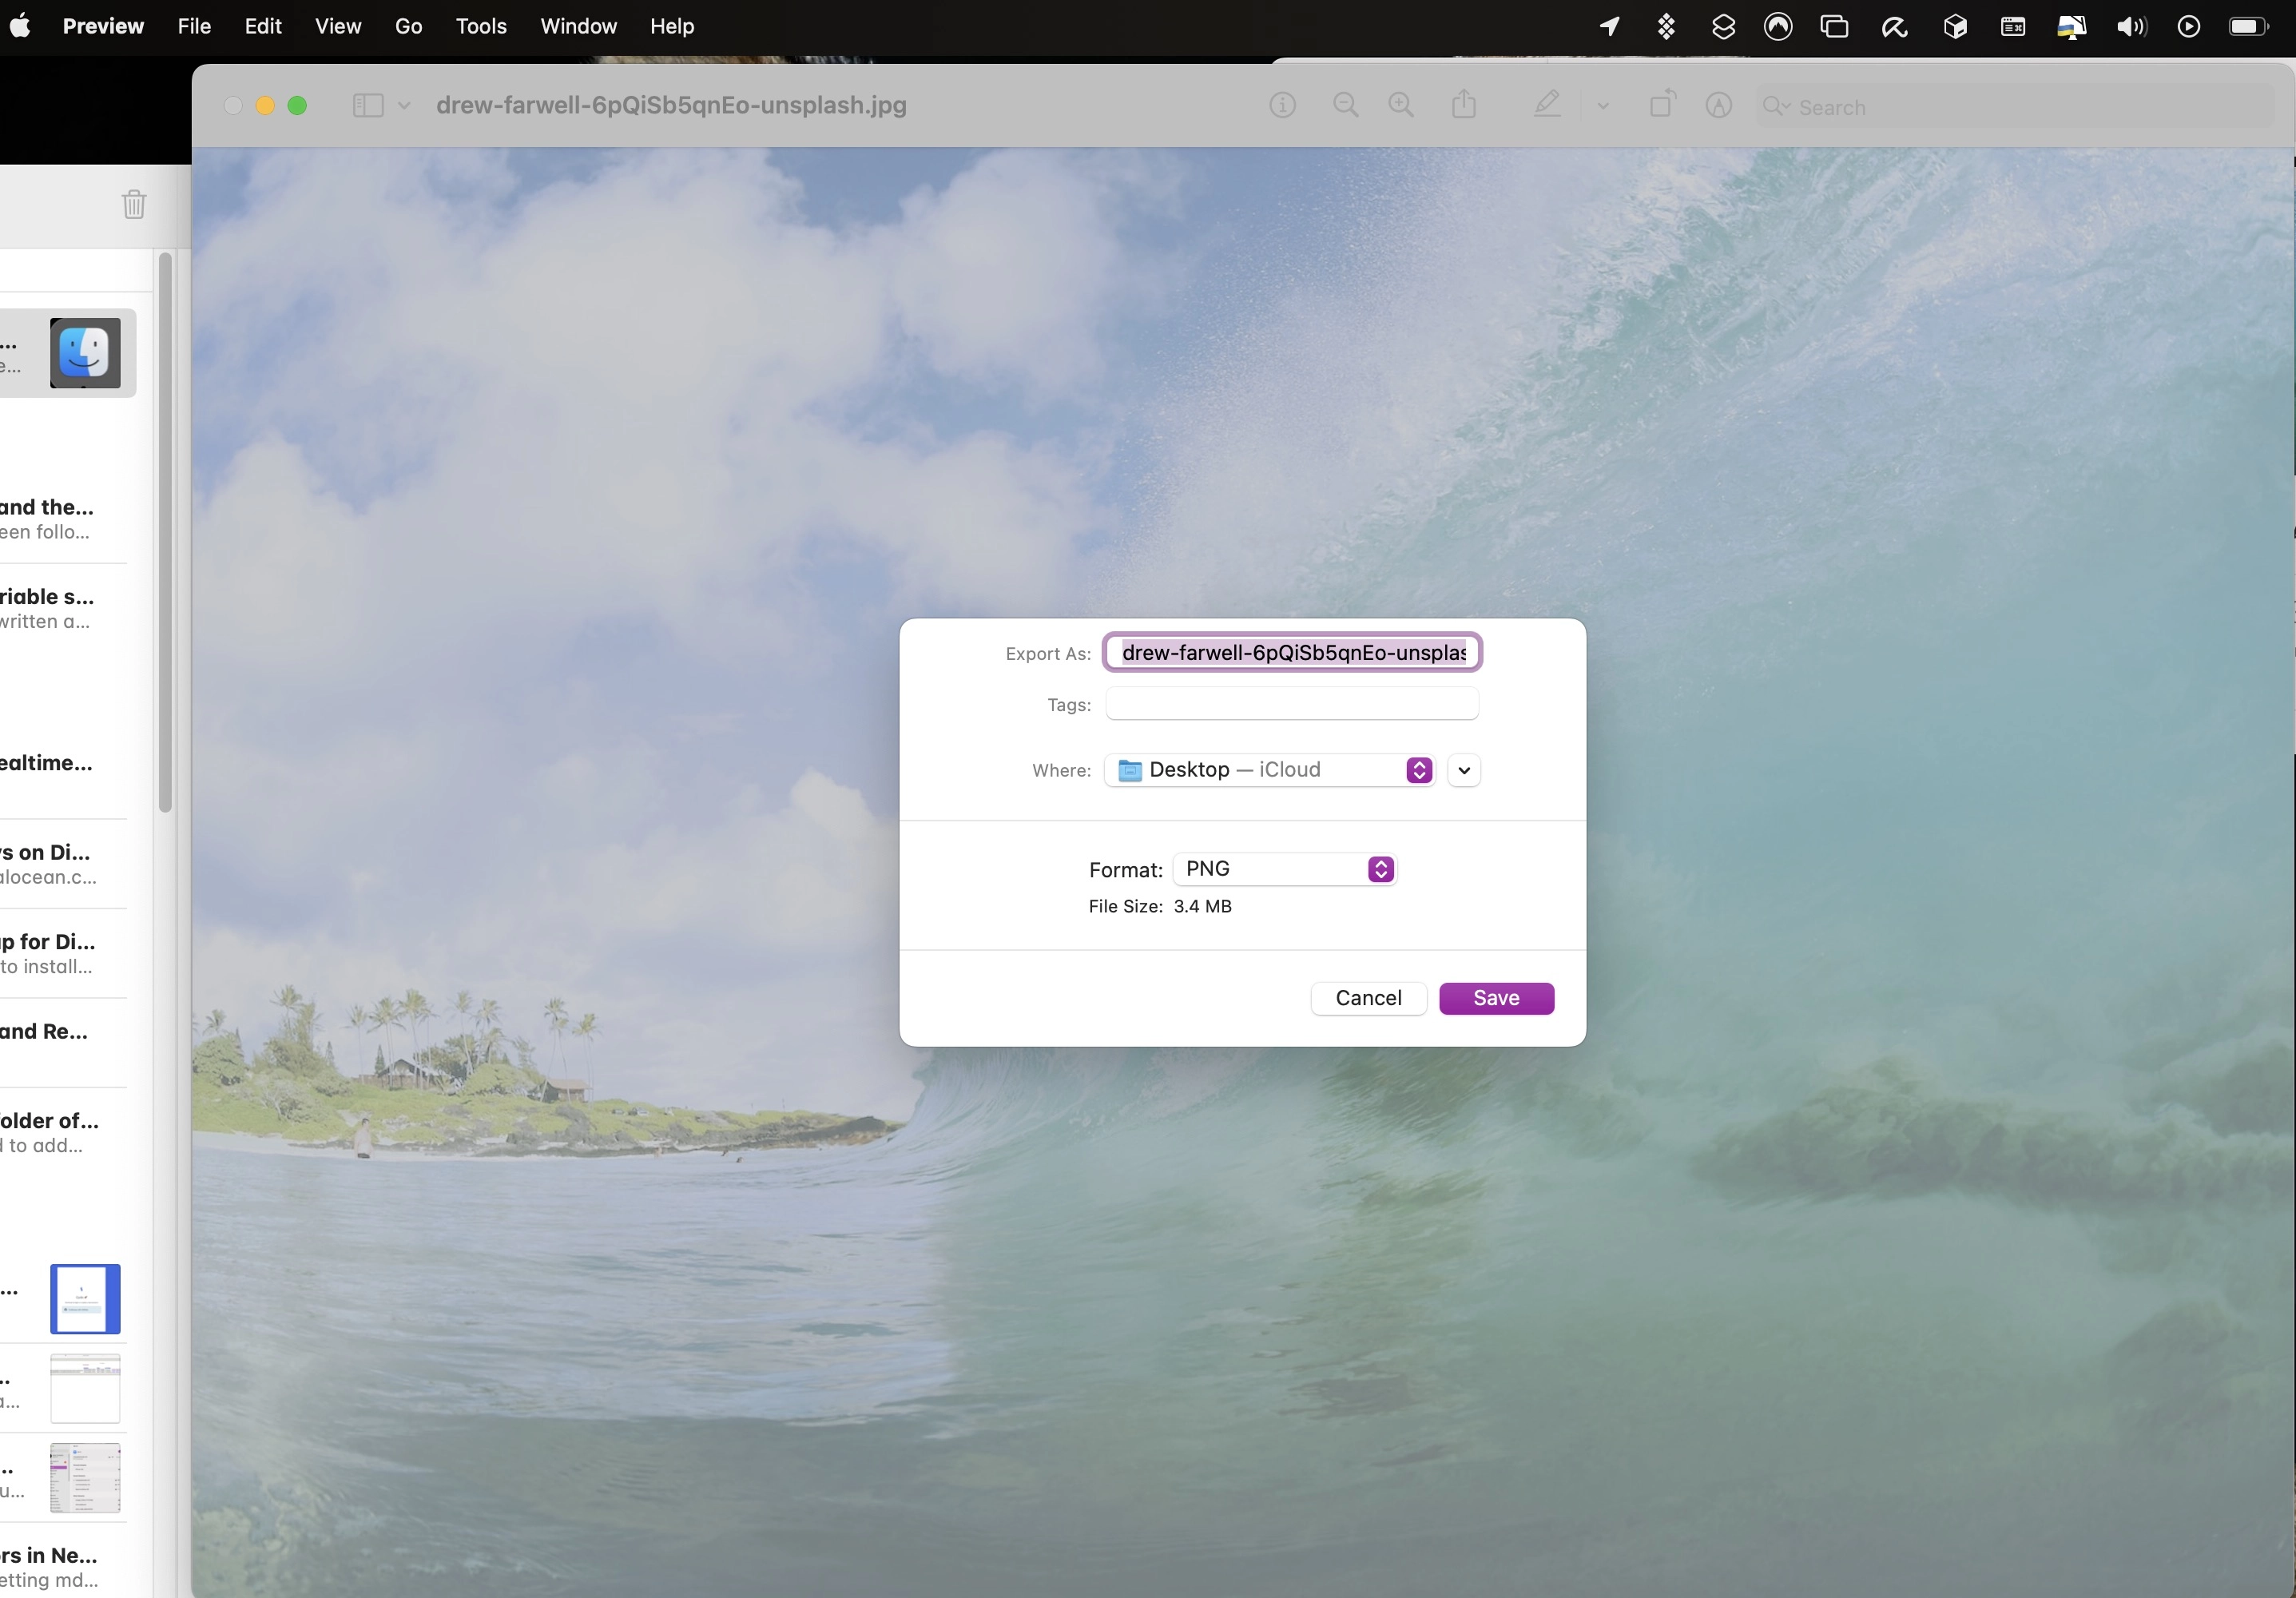
Here, the png format is shown, because that is the last format I selected for transforming a jpg image to a png image. However, other formats are available. They are the following:
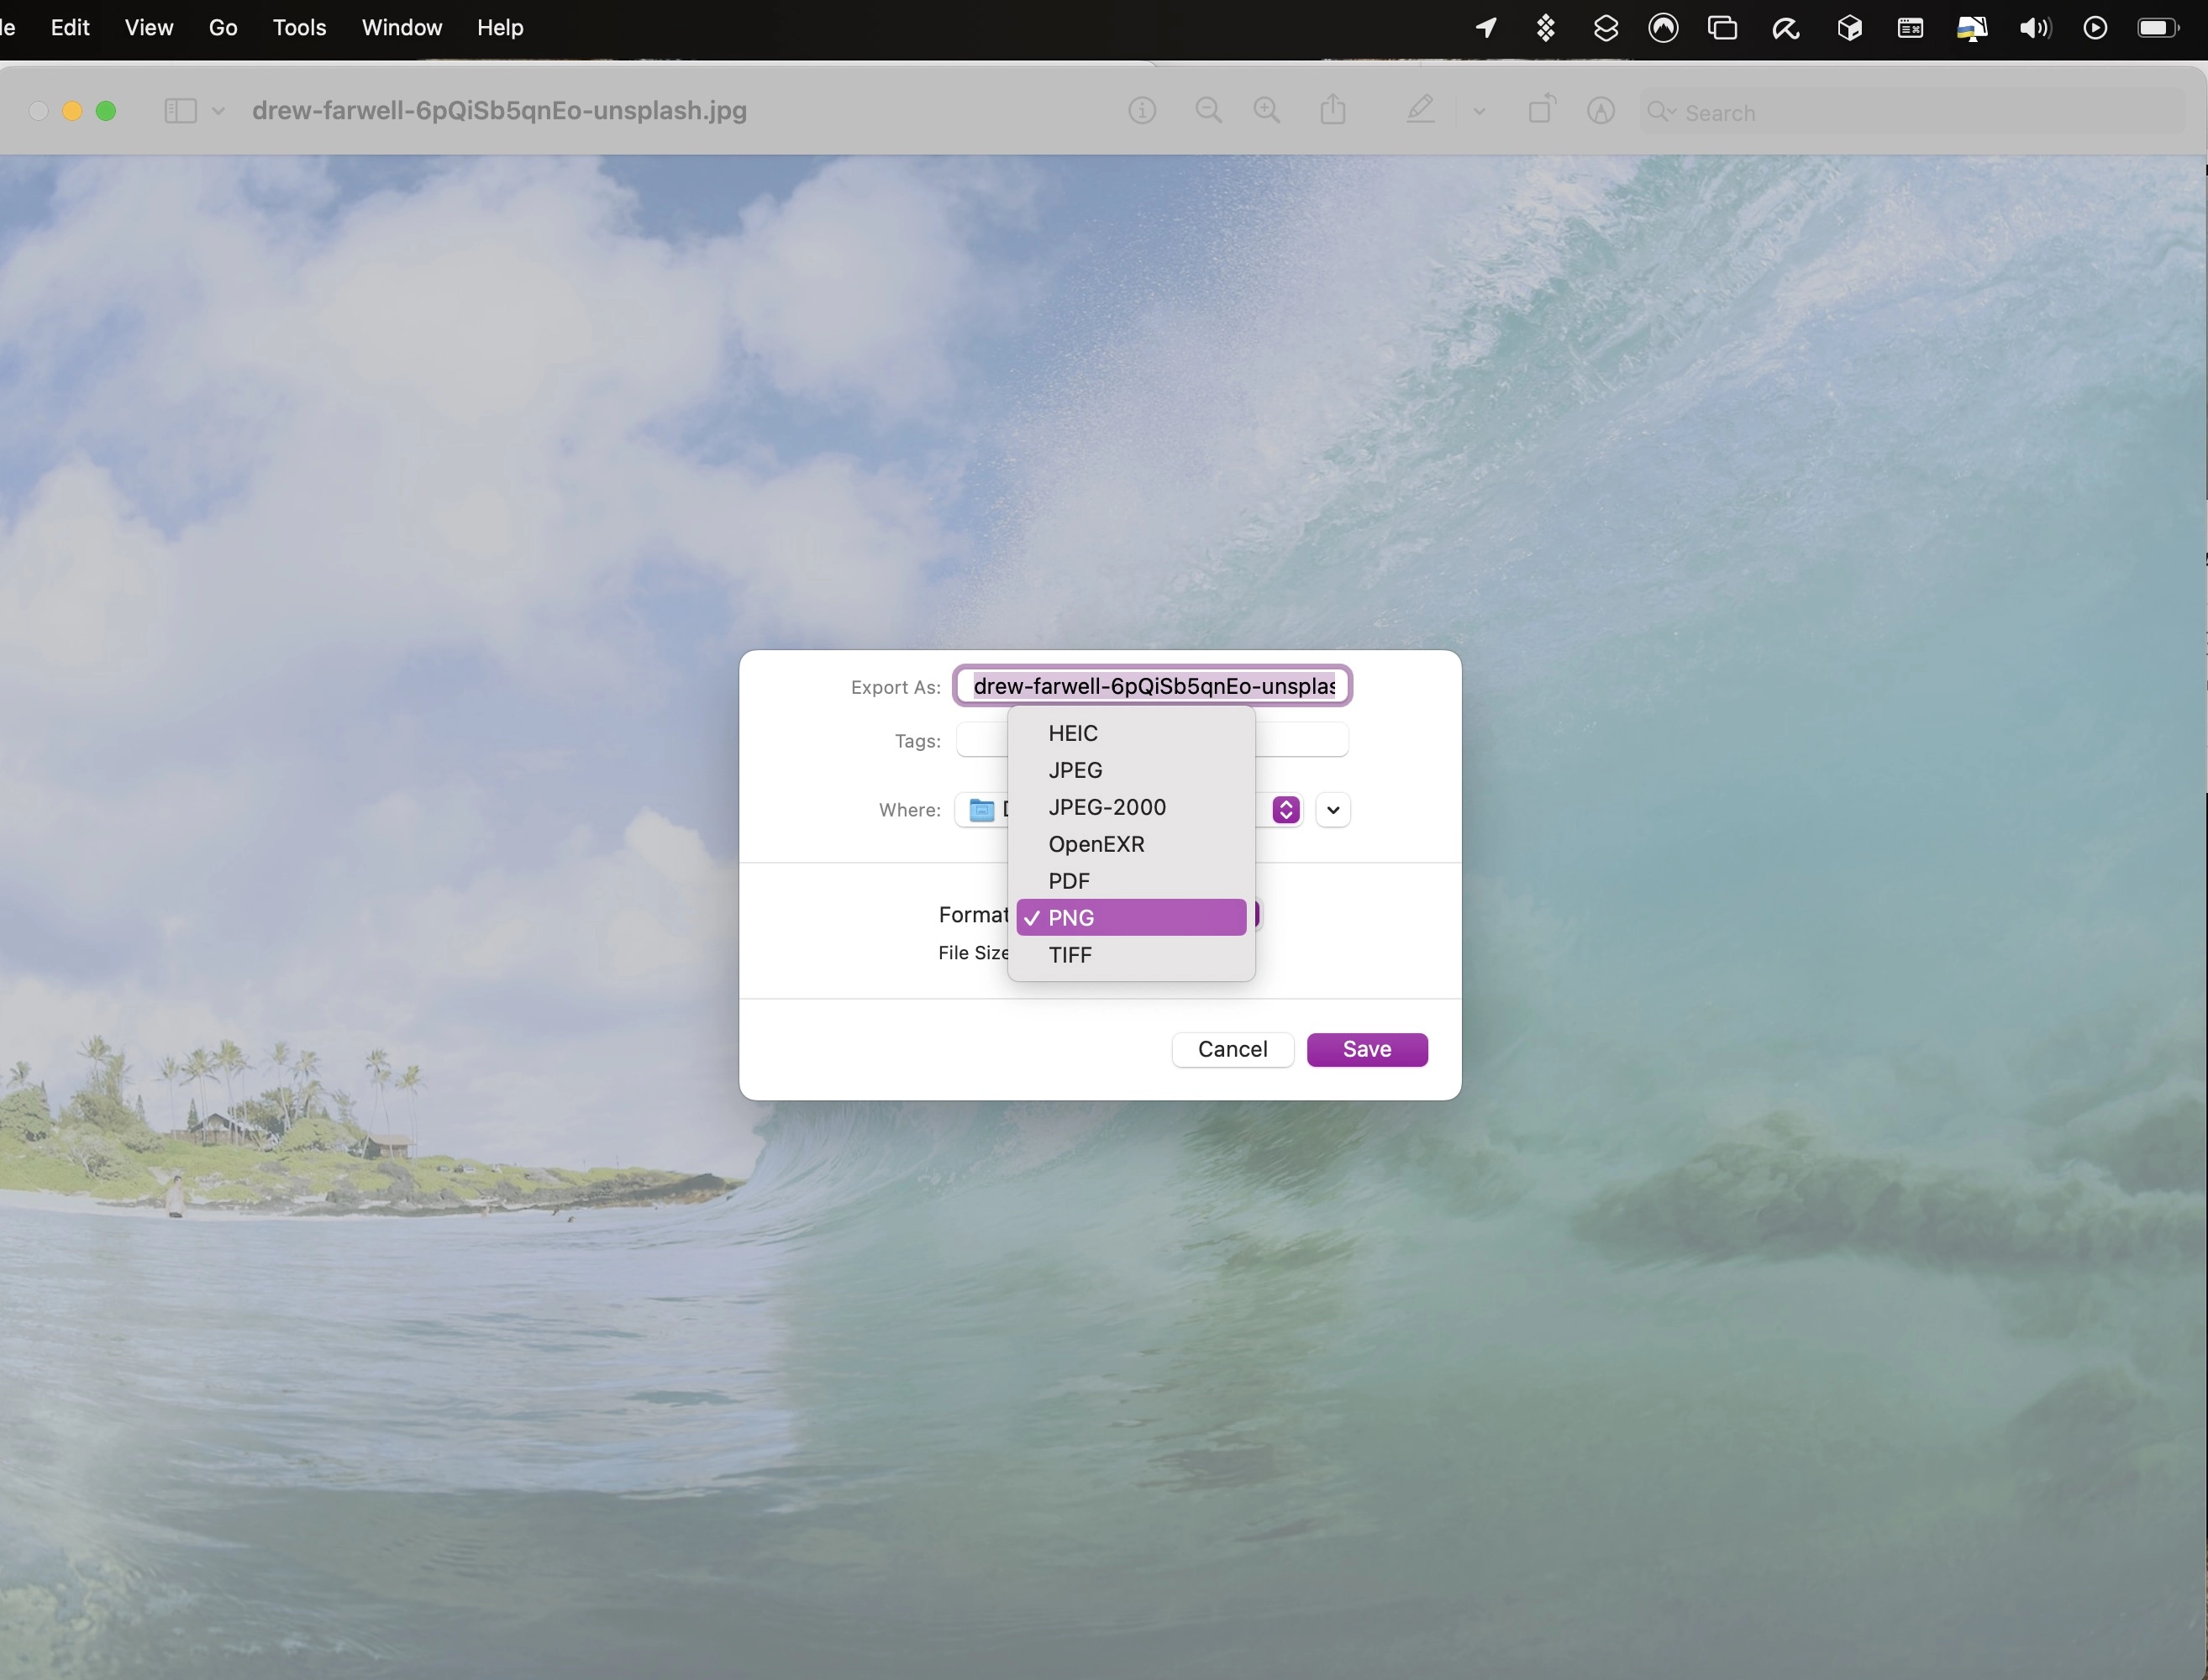
The only two formats most people should concern themselves with are the jpg and png formats. I will be writing another post regarding the formats available here to acquaint my readers about what function they serve.
The other option available within this popup is where one wants to save the transformed image. It looks something like the following:
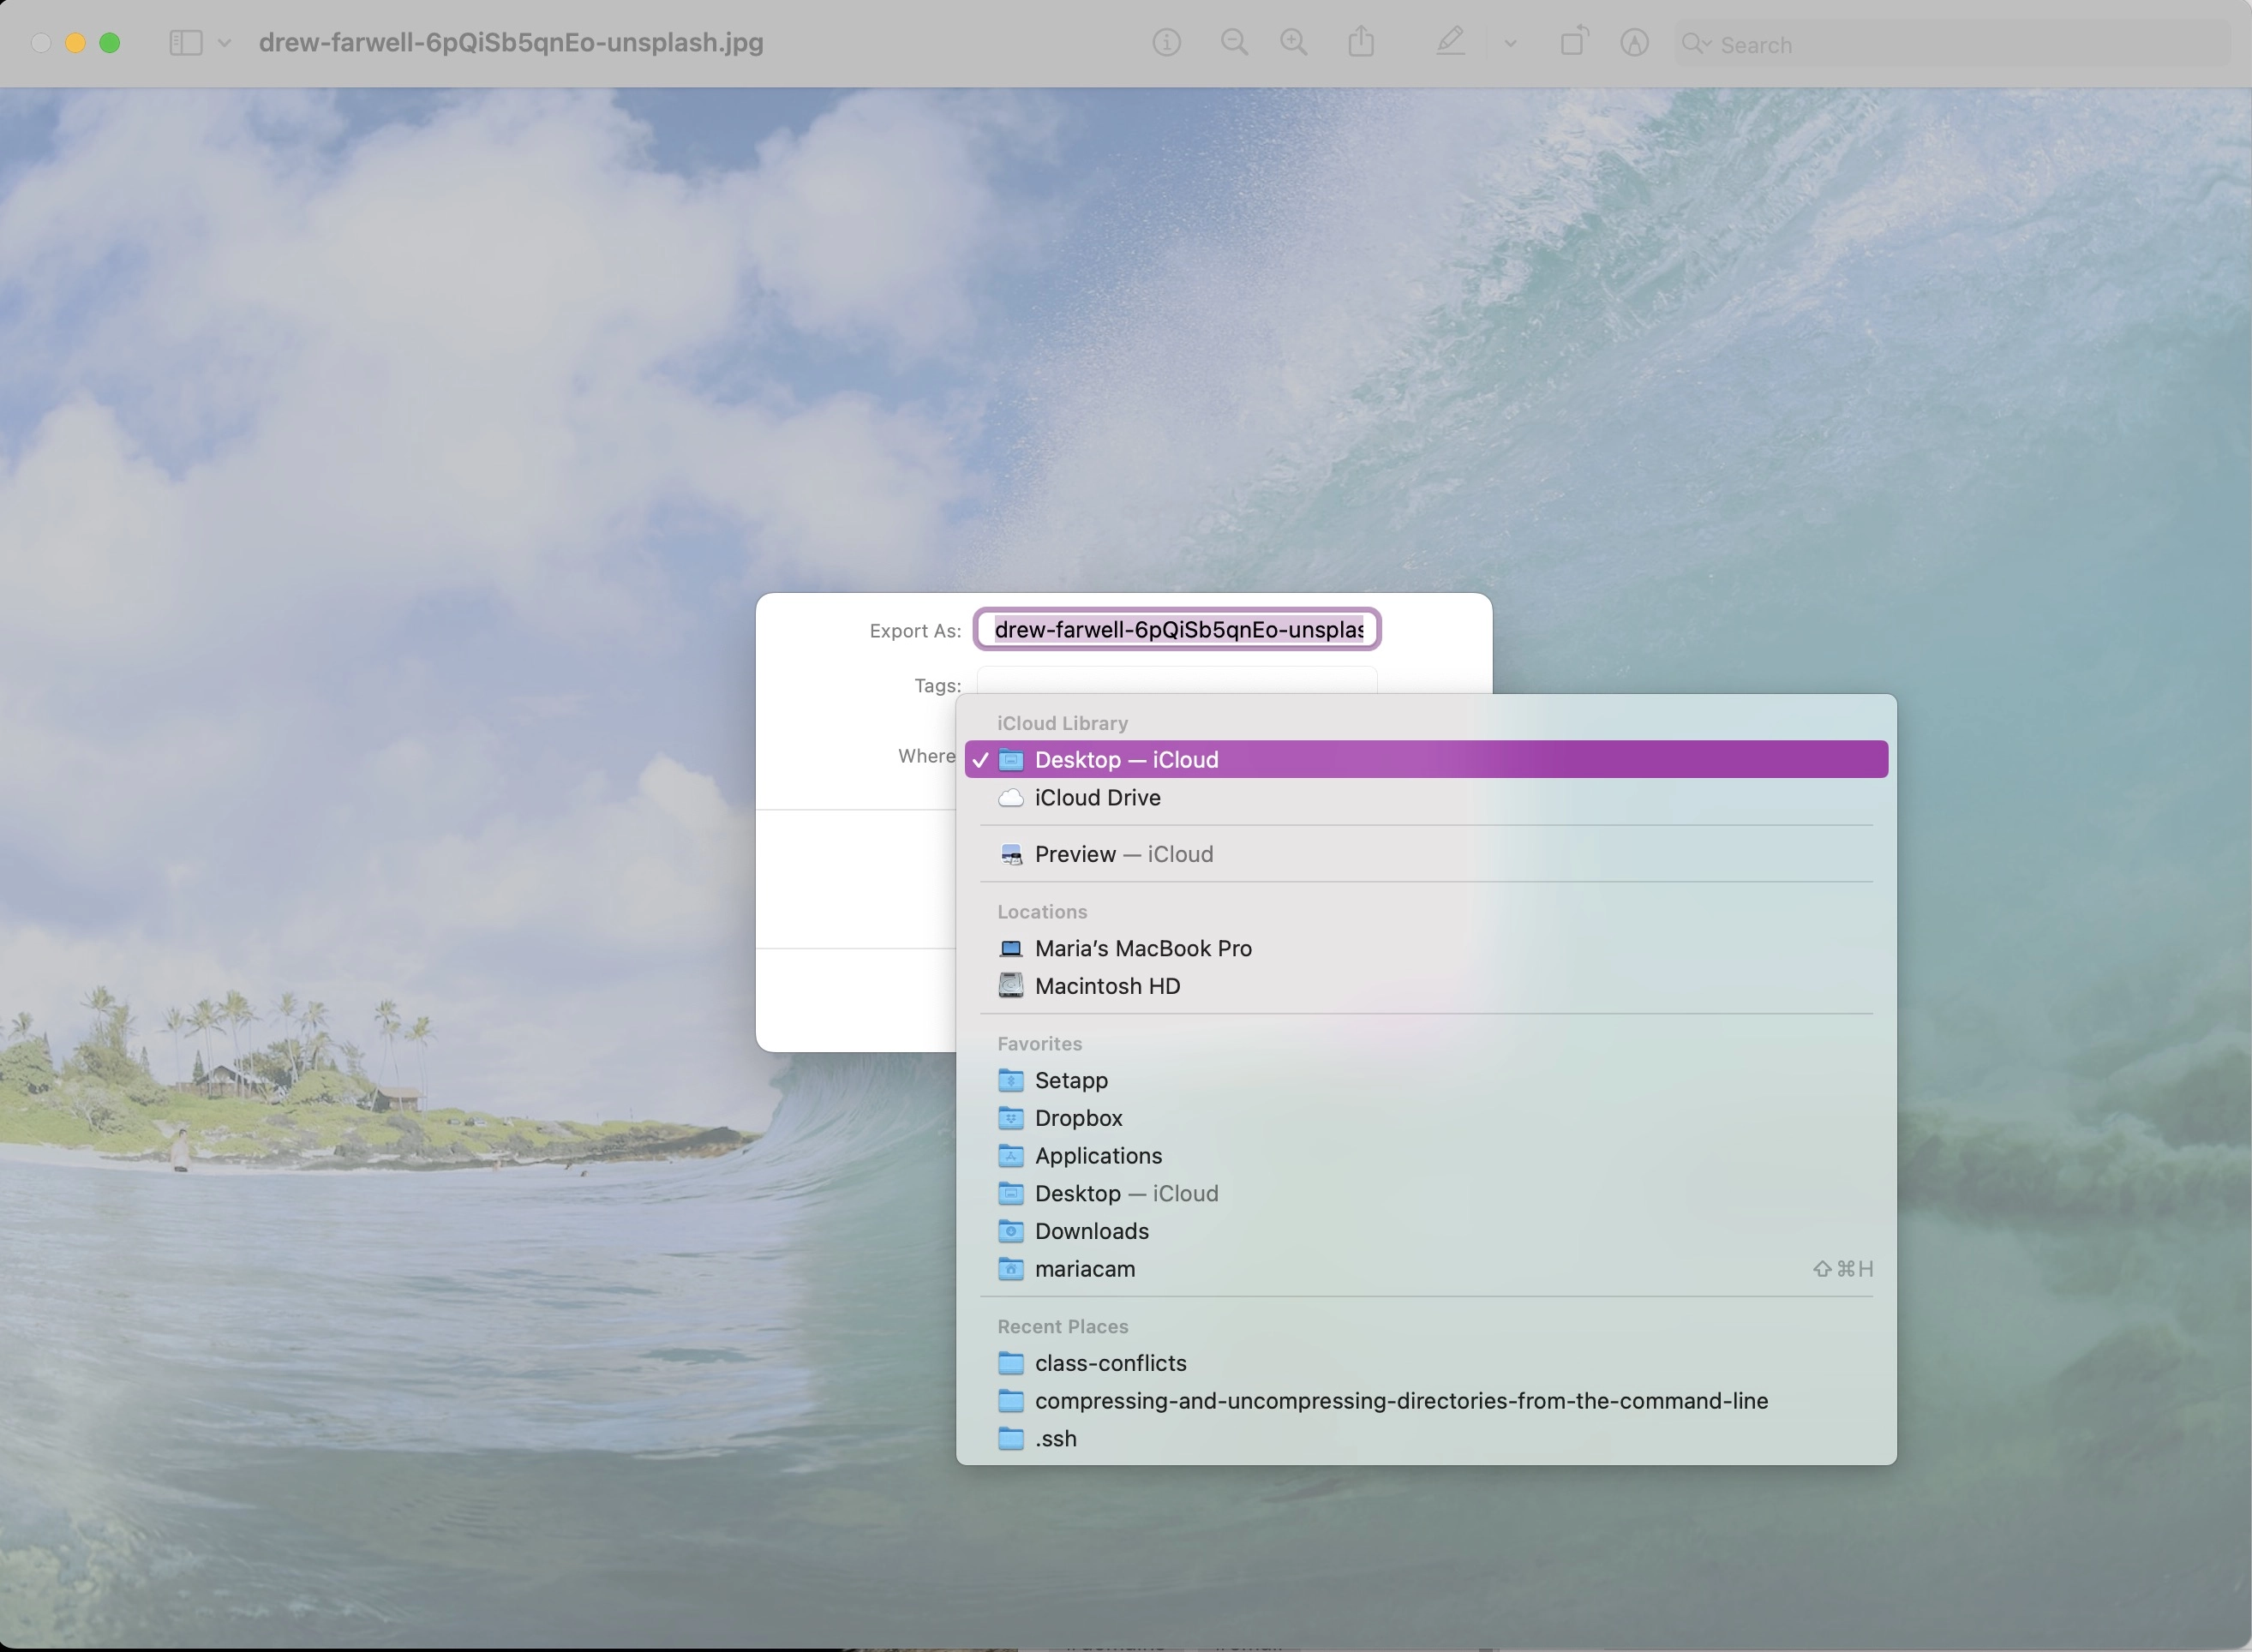
I want to keep the same location, so I select Desktop - iCloud” for the file format, I select “png”. Then I click on the “Save” button and close the popup. Then, when I look for it on my Desktop, the following appears in my Finder:
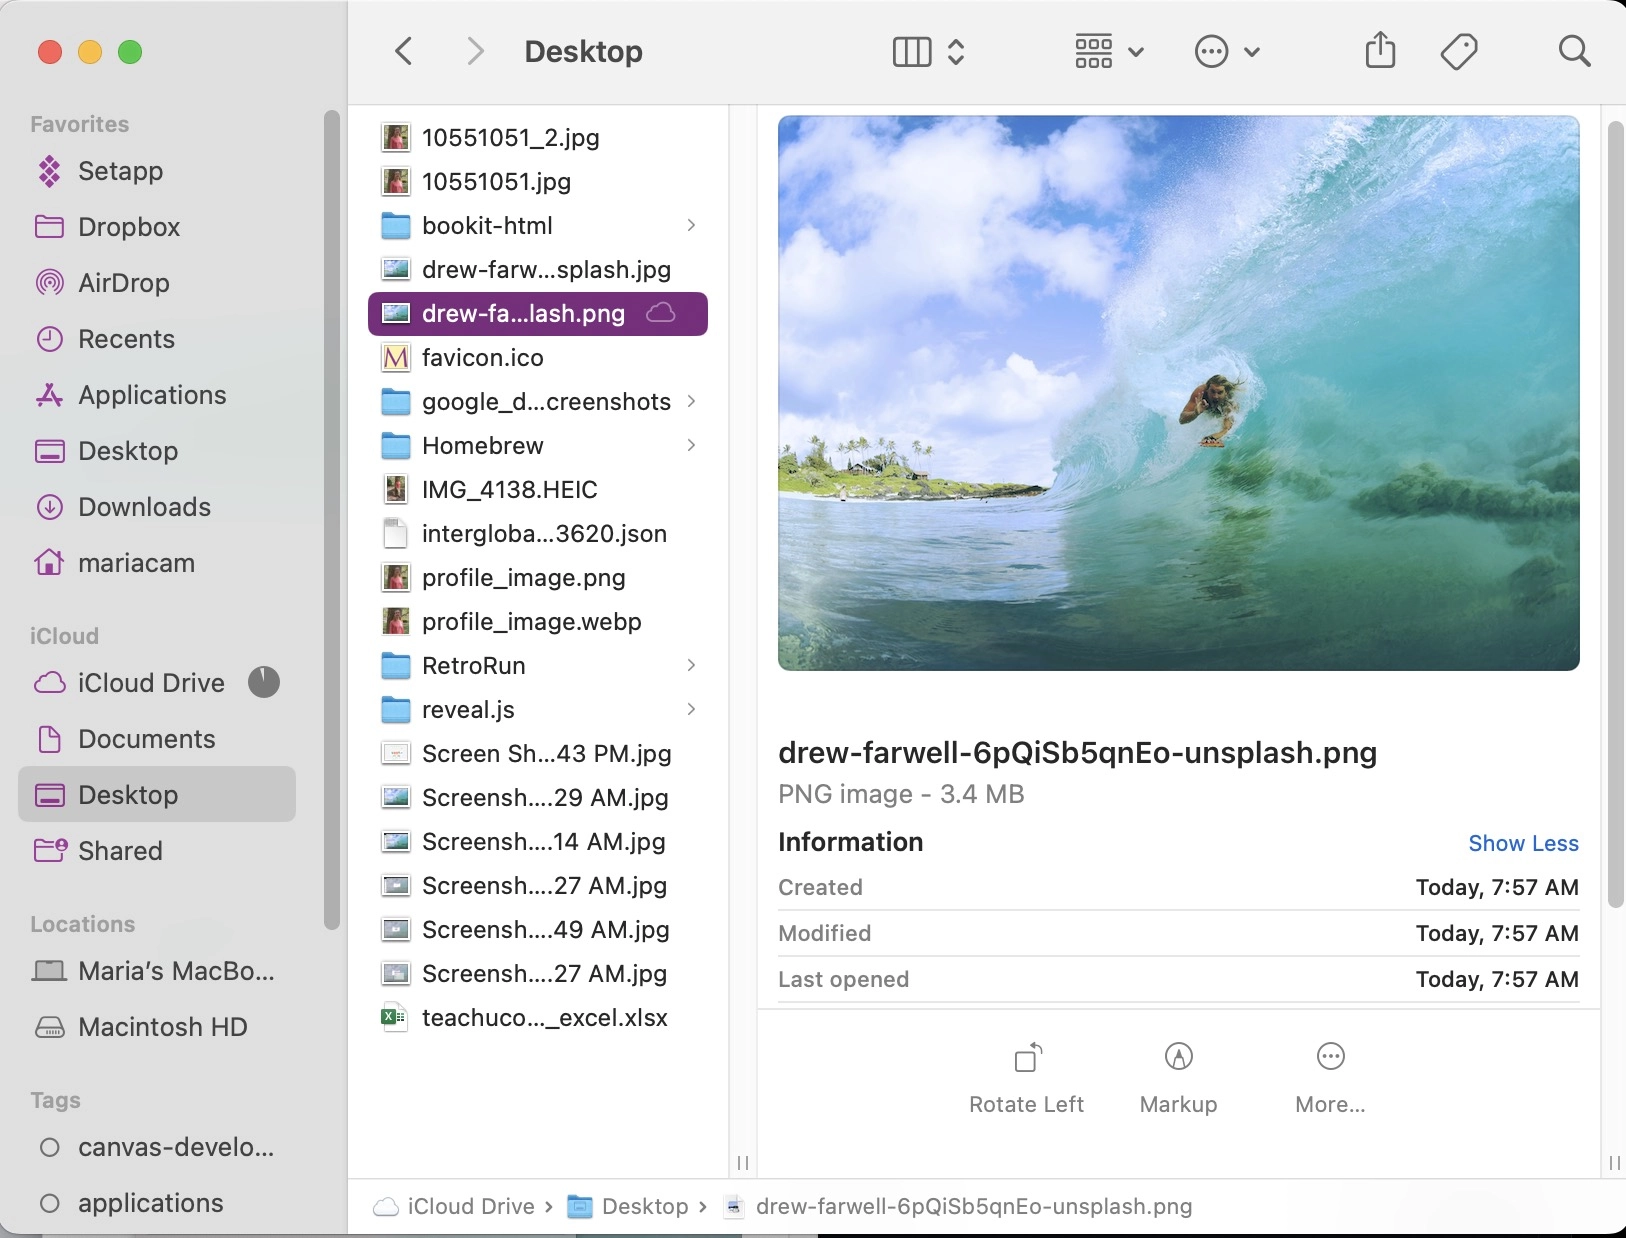
I didn’t even have to look for it on my Desktop! I just had to find the new png file that was created right at that moment (I confirm by comparing the creation time with the actually time on my macOS clock). And that is it!
It is important to note that when you save the image to a new file format, it is being “Saved As”, so a new copy of the image in its new format is being saved, so it does not overwrite the original file.
Happy image file conversion!
Related Resources
- Changing Mac default screenshot file format to jpg: Maria D. Campbell,
interglobalmedianetwork.com